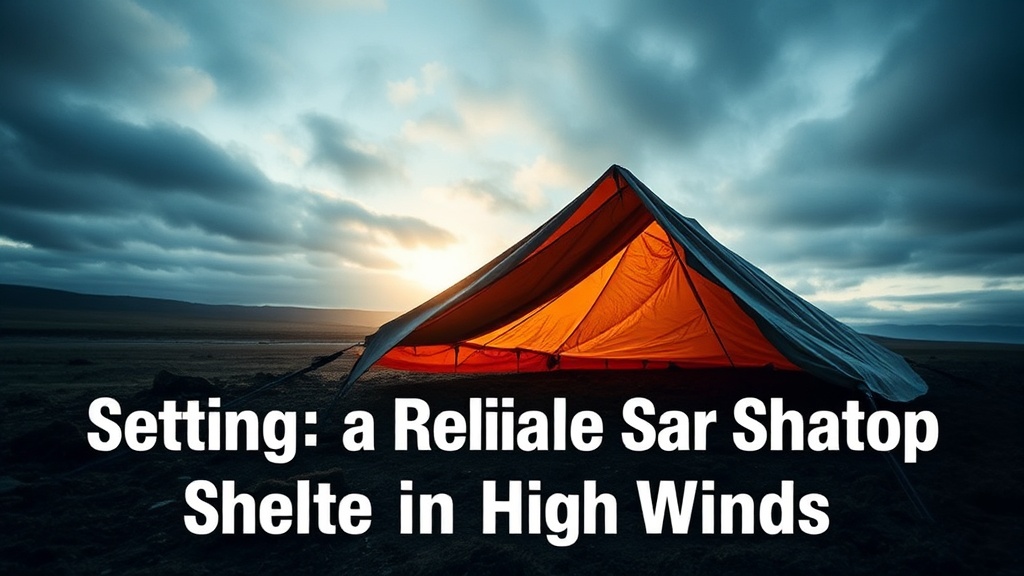
Setting Up a Reliable Tarp Shelter in High Winds

A single gust of wind rips through the canopy, turning a lightweight ripstop nylon sheet into a violent, flapping sail. The stakes groan against the soil, and suddenly, the shelter you thought was secure is lifting off the ground. This is the reality of high-wind environments. Setting up a tarp in these conditions requires more than just a basic knot; it requires an understanding of aerodynamics, tension, and ground geometry. This guide breaks down the specific techniques needed to keep your shelter pinned down when the weather turns nasty.
Most people treat a tarp as a simple piece of fabric. In reality, a tarp is a sail. If you don't manage the airflow, the wind will win every time. We're looking at how to minimize drag, optimize your pitch, and select the right hardware to ensure your gear stays put during a storm.
How Do You Pitch a Tarp in High Winds?
You pitch a tarp in high winds by orienting the narrowest edge toward the wind and using a low-profile, aerodynamic shape. A low-profile pitch reduces the surface area exposed to the brunt of the gusts. Instead of a high A-frame, which acts like a giant scoop for wind, you want to aim for a wedge or a low-slung ridge line configuration.
The direction of the wind is your most important variable. If you can see the wind moving through the trees or the grass, use that as your guide. You want the wind to flow over the top of your shelter, not get trapped underneath it. If you trap air under your tarp, you've essentially created a parachute that will eventually pull your stakes out of the dirt.
Consider these three primary pitching methods for windy scenarios:
- The Low Wedge: One end of the tarp is pinned low to the ground, while the other is slightly elevated. This allows wind to slide over the top.
- The Side-Wind Lean: One side of the tarp is pinned directly to the ground, creating a ramp for the wind.
- The Bivy Style: Using the tarp as a low-profile wrap around your sleeping pad, minimizing all vertical surface area.
I've found that using a high-quality trekking pole or even a fallen branch to create a low ridge line is much more stable than trying to use a tall, upright pole. The lower the center of gravity, the harder it is for the wind to flip your setup. It's a trade-off, though—you'll have less headroom inside the shelter.
What Are the Best Tarp Materials for Bad Weather?
The best materials for high-wind durability are high-tenacity ripstop nylon or heavy-duty SilNylon. These fabrics offer a balance of weight and the ability to hold tension without tearing. While heavy canvas is incredibly durable, it's usually too heavy for most backpackers. For most, a lightweight SilNylon tarp from a brand like Aqua Quest or Eastern Outfitters provides the necessary strength without the bulk.
When the wind picks up, the "stretch" of your fabric matters. Polyester (often sold as SilPoly) is a great choice because it has much less stretch than nylon. This means once you tension your lines, they stay tight. Nylon tends to sag when it gets damp or under heavy wind loads, which can lead to a total collapse of your structure.
| Material Type | Pros | Cons |
|---|---|---|
| SilNylon | Extremely lightweight, great for long hikes. | Stretches when wet; can sag under high wind. |
| SilPoly | Low stretch, stays tight in wind and rain. | Slightly heavier than some nylon options. |
| Canvas | Indestructible, great for fixed sites. | Extremely heavy; not suitable for backpacking. |
Don't forget that the hardware is just as important as the fabric. If you're using cheap plastic crimps, they will snap. I always recommend using aluminum grommets or reinforced tie-out points. A snapped grommet in the middle of a storm is a nightmare you don't want to deal with.
How Do You Secure Stakes in Soft Ground?
Motivated by the need for stability, many people overlook the ground itself. To secure a tarp in soft or sandy ground, you must use specialized stakes or deadman anchors.If you're camping in a forest with soft, organic soil, standard metal pegs will pull out in seconds. You need something with more surface area. A common trick is to use the "deadman" technique—burying a heavy object or a piece of wood horizontally in the ground to create an anchor point. This is much more reliable than a vertical stake that relies solely on friction.
Here is a checklist of gear-related stability tactics:
- Use MSR Groundhog Stakes: These are designed to bite into various surfaces and hold much more tension than cheap aluminum pins.
- Tie-Out Loops: Ensure your tarp has multiple tie-out points. More points mean the tension is distributed across the fabric, reducing the stress on any single corner.
- Guyline Tensioners: Use a dedicated tensioner like a Guyline Tensioner or a simple knot to keep your lines taut. A loose line is a vibrating, noisy, and unstable line.
- Rock Anchors: If the ground is too hard for stakes, wrap your guyline around a heavy rock and pin it down with a smaller stake.
It's worth noting that your footing and gear management go hand-in-hand. If your gear is sliding around because your shelter is unstable, you might find yourself dealing with wet clothes or a messy pack. If you've ever struggled with gear management in the field, check out my post on common mistakes when packing a lightweight backpack to ensure your kit stays organized even when the wind is howling.
One thing I've learned the hard way: never rely on a single stake if you can avoid it. I always set up my guy-lines with a bit of slack first, then slowly tension them one by one. If you crank one side to maximum tension before the others are even set, you'll distort the shape of the tarp and create a weak point. It's a delicate balance of tension and geometry.
The wind is a constant force in the wilderness. You can't fight it, but you can certainly prepare for it. Whether you're using a Therm-a-Rest mat inside your shelter or just a simple piece of nylon, the stability of your foundation determines whether you'll sleep or spend the night wrestling with your gear. Spend the extra ten minutes during setup to get your lines tight and your angles low. Your future, less-stressed self will thank you when the gusts start hitting.
When the wind is howling, your focus shifts from comfort to survival. A well-pitched tarp isn't just a piece of equipment; it's your primary defense against the elements. Keep your lines tight, keep your profile low, and always respect the direction of the wind.
Steps
- 1
Select a Natural Windbreak
- 2
Secure the Ridgeline Low
- 3
Anchor the Corners with Heavy Stakes
- 4
Check Tension and Airflow